Showing posts with label Magazine. Show all posts

Saturday, December 1, 2012

Christmas Center Piece

It's the first day of December and I'm sure many of you want to do crafts for the holidays! Today I'm going to be making a Christmas center piece. I'm probably going to put it on a bookshelf or side table just as a little Christmas cheer but I hope you like this and find a place for a mini Christmas tree!


Materials:
- Tin Foil
- One-sided sticky Green felt (from your local craft store)
- Birthday/party hat
- 1 empty toilet paper roll
- Tissue paper
- Glue
- Almond Hersey kisses (mostly for the gold foil, and a snack when you're crafting!)
- Newspaper/magazine (optional)


Steps:

1. First, take a toilet paper roll and glue it into your birthday hat. This is the base for your tree a.k.a. the tree trunk! Don't forget to take the birthday hat string off, hehe. I had some trouble getting it to stay, so I stuffed the tip of the hat with a balled up magazine page. ^.^


2. Now cut up your felt into squares/diamond shapes! With first few squares, lay them overlapping each other and so that the corners hang off the side. Because the felt has adhesive on the back already, I cut some small triangular pieces to stick onto the back so that there's no sticky parts exposed.


 3. Keep layering the felt squares up the tree until you get to the top. For the top of the tree, I took a square and cut 6 slits into it so that I could lay the square on the top of the tree and have the sides fold down smoothly.


4. Now I took some time to clean everything up a bit. Trim the bottom of your tree where parts of the birthday hat is showing. Make sure all your felt square are sticking and that your tree stump is still in place! After this step, you've got your Christmas tree ready, and all you have to do now is decorate it!


5. I kind of got crazy with scrounging around my apartment to find stuff to decorate my Christmas tree with... With some Hersey Kiss (Almond) wrappers, I made a star!


I used some tin foil to make "tinsel", and some rolled up tissue paper as small ornaments! Red tissue paper to stick with the Christmas theme. :)


 What I've learned:

- Making a star out of foil is a lot harder than you think! Layer each piece of foil on top of each other so that it won't fall apart.
- Get creative with your ornaments! I thought about using buttons too!
- Make sure you plan/place your felt squares strategically. I had to use every last bit to cover the party hat!


Here's my finished Christmas tree!
<<<


I hope you liked this post and are as excited for the holidays as I am! Now that I've decorated my mini tree, maybe I should get a my real Christmas tree and decorate it. I thought of this idea on my own (although I'm sure other people have done things similar to it), so let me know what you think!


Happy crafting!

Alison :)

Tuesday, August 28, 2012

Origami Box

Hello everybody! Today I wanted to share something that I've been doing for years now and that's making Origami Boxes! You can make these in any size and they are great for holding random, smalls things like... office supplies (push pins, staples etc.), bobby pins, jewelry and whatever you can think of! I use them a lot actually when I eat sunflower seeds and peanuts because you can just throw the box away with the shells!

Materials:
- Piece of paper

This is the shortest list of materials ever! I'm going to show a lot of pictures for this post, so check it out!


Steps:

1. Fold your piece of paper in half (the hamburger way!). The open it back up and fold it diagonally, leaving a little bit on the ends (check out the picture). Do this for both sides so you have an "X" in the middle of your paper when you open it up. Now push in along the first crease you made so that you can pinch the 2 sides together.


2. Now push those sides down along the diagonal creases you made. You should have a wide, "house shape" when you're done with this step!


3. Next, fold in each side "wing" towards the center of your "house shape". You'll have four "wings" to fold (two on each side).


4. Great! Now, fold those two flaps at the bottom over so that they are on opposite sides.


5. Open up your Origami Box, and its ready to be used!


What I've learned:

- Describing origami in words gets weird, so I hope the pictures helped!
- Making those creases at the beginning help a lot later on.


I like to make a whole bunch at once, so that they'll be ready whenever you need them! I love storing a whole bunch inside one opened box because it looks neat and they're easy to grab. If you want to try this, just grab an old magazine and go to work while you're on the couch watching TV.  Before you know it, you'll have a whole box filled!

Hope you guys liked this post!


Alison :)

Saturday, August 4, 2012

Woven Paper Basket

Hello there! This morning as I was taking out the recycling and I saw a pile of ads and old magazines so obviously, I had to do something crafty with them! I'm sure you all get newspapers, magazines, catalogs and ads of some sort mailed to you, so you basically already have the materials to do this project. I'm going to try and think of more alternative uses for all of this paper, but today we can just focus on making a Woven Paper Basket.


Materials:
- Paper (I used magazine pages because I like the color, but you can use any kind of paper! Keep in mind that newspaper might get ink everywhere!)
- Adhesive: Glue, double sided tape etc. (stapler would work too)
- Scissors

*I used double sided tape for this project and in the steps I'll say "tape" but you can substitute whatever you decided to use.*

<---- This is how mine turned out! ^.^


Steps:

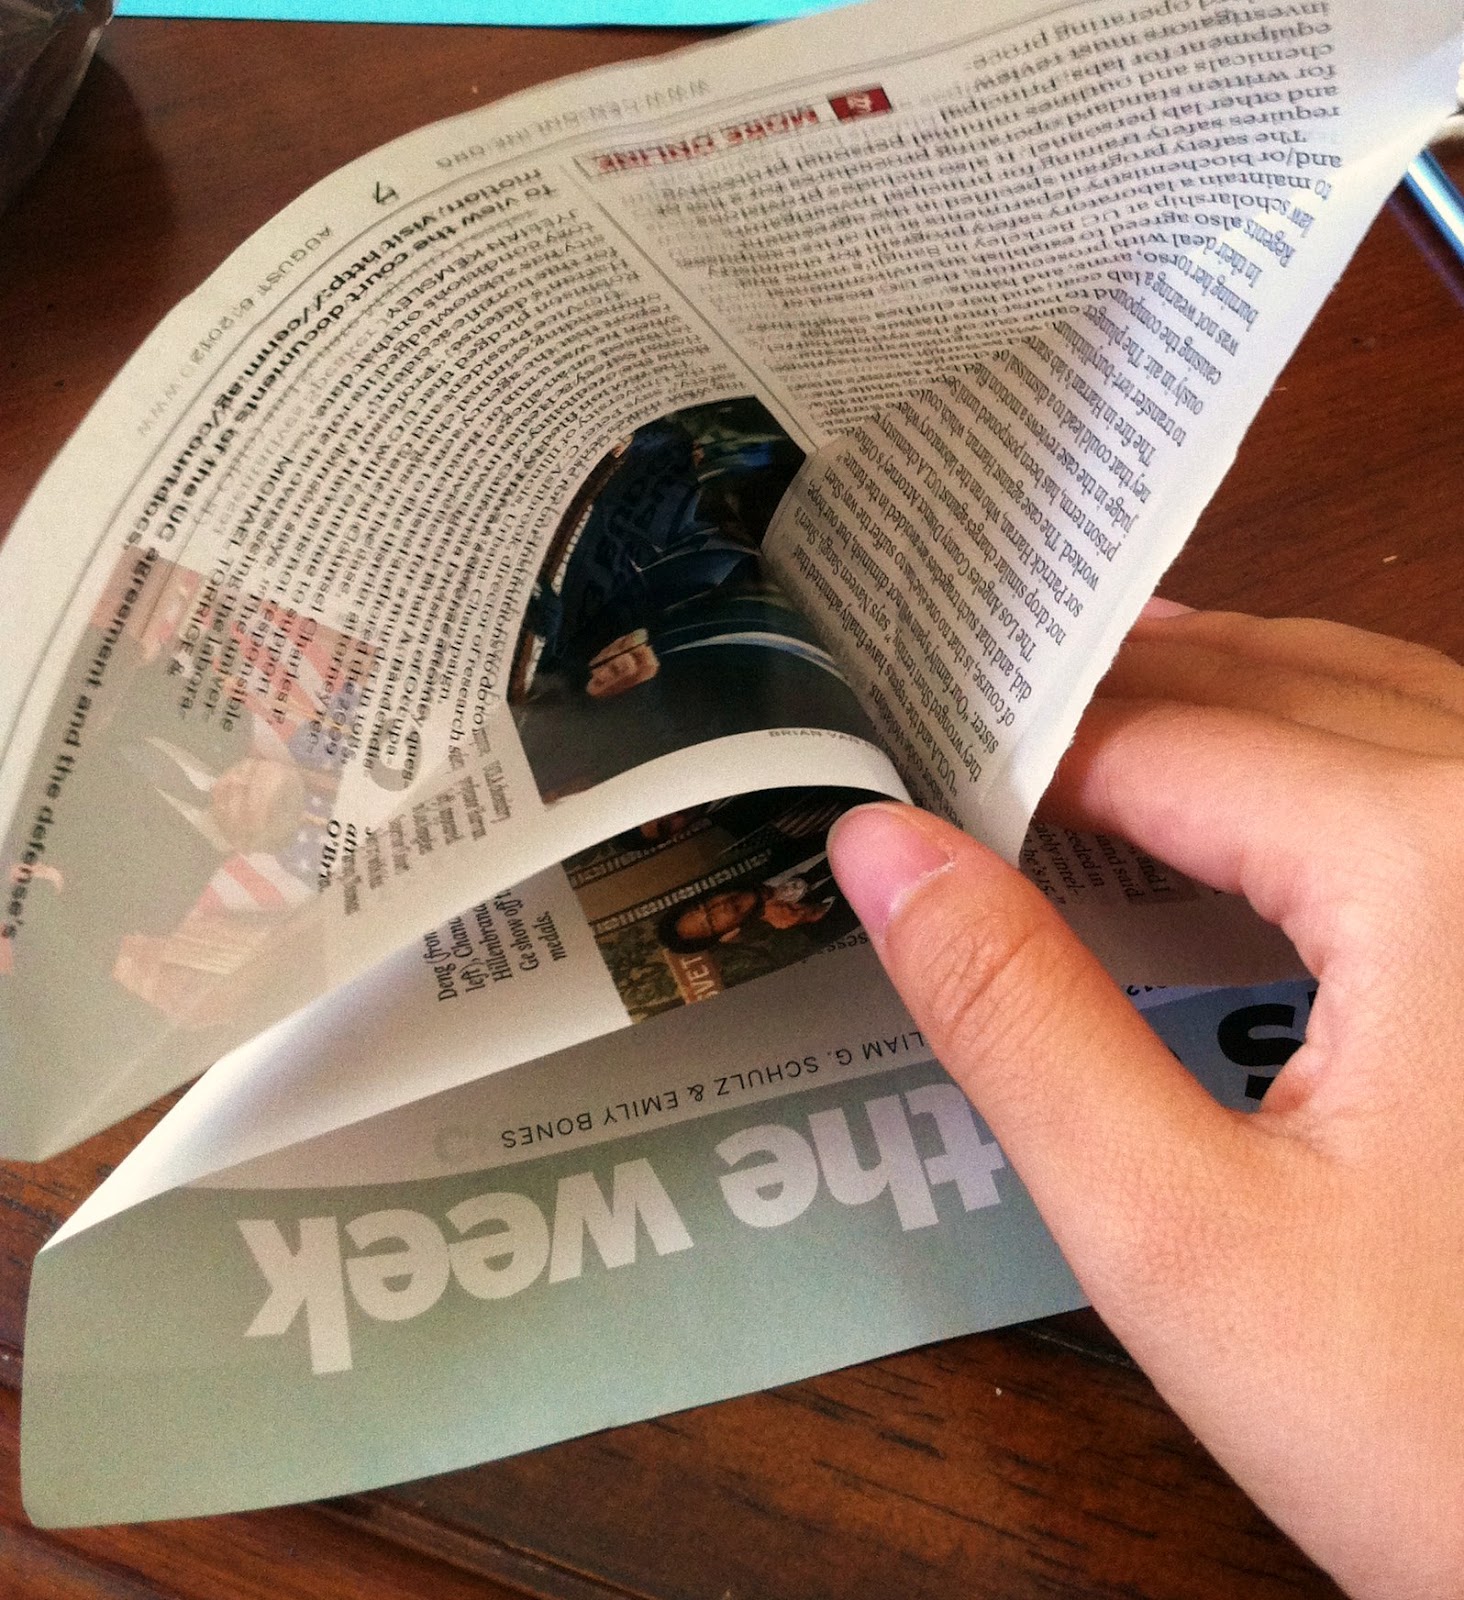
1. Fold your paper into strips. The more times you fold it, the sturdier it will be but keep in mind it won't as easy to bend. I used about 18 pages, and each was folded in half 3 times into 1 inch strips.  


2. Take two of your folded strips and tape them together so that they are perpendicular to each other like picture below. Now you can start weaving, alternating strips from going over and under each other. On these earlier strips, I taped each one down, but later they end up fitting each other well and you won't have to use as much tape. At this point just build the base of you basket, the bottom of mine was 5x5 strips.


3. When you want to start building up the sides of your basket, start by folding up the sides of your existing strips. Then weave the strips in to make the sides of your basket vertically. This part was pretty hard for me! You'll probably have to use multiple strips for each layer on the sides, and plenty of tape.


4. Now you're pretty much done and you can clearly see the shape of your basket. I added a trim to the rim of my basket. First, cut of the tops of the strips to that they're all even. I even taped some of the ones that stuck out to make it easier to work with. Take another strip (or 2 ) and carefully wrap it over the top of your basket, taping as you go along. It gets tricky in the corners but try your best to keep it smooth. And..... Now you're done!


What I've learned:

- Make sure you check that you didn't miss a "stitch", and by that I mean one of my strips was under when it was supposed to go over another. Which brings me to my next tip...
- Don't tape without double checking!
- If some strips like the ones used for making the sides aren't long enough, cut smaller strips and attach them one inside the other to make it look more seamless.
- For the trim of your basket, instead of using another strip (that has been folded many times and isn't very bendable), just cut a long piece of whatever paper you were using to put along the rim of your basket. It will probably be a lot easier to work with!


This DIY project was a little frustrating for me at times (tape everywhere, sticking to everything)... but I'm so happy with the outcome of my basket and the fact that its recycled! It would be really cute to have a couple of them on a bookshelf, especially if you have different sizes. Hmmm, maybe I'll do that!

Did you like this project? Are you going to try it? Let me know! :)


Alison