Hi everyone! Today's post is for all my ladies out there (and for any men that are curious and want to try this too). I've been asked how I curl my hair a few times by friends and co-workers so I figured I'd share it with you! I have very straight, thick hair so I'm sure that this can work for anyone! Keep on reading for how to curl your hair with a curling wand.

Materials:
- Curling Wand
- Brush/comb
- Hairspray
- Hair Clips
- Heat Protecting spray or serum
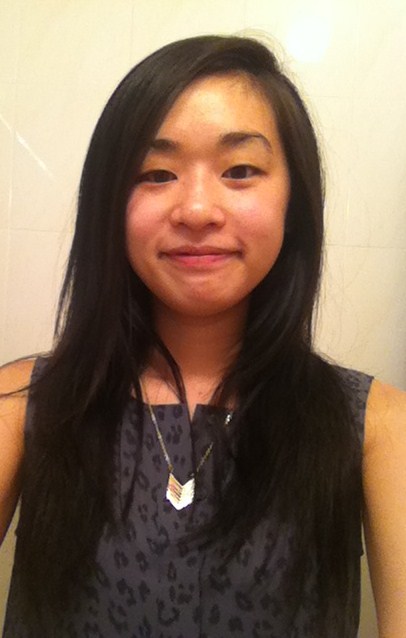
Here's are pictures of me before and after I curled my hair:
Before After

Steps:
1. First plug in your curling wand. While it heats up, brush your hair so that there aren't any knots or tangles and prep your hair with heat protecting sprays or serums. You should also take time to part your hair. I part my hair to the side, but you have a center part that's no problem! I would also part your hair in the back and clip it to one side. Depending on how thick your hair is and how much hair you have, take the top section of your hair and clip it as well (I'll be doing this ^.^).


2. Now we can start curling! Take a small section of hair and begin wrapping it around your wand so that your hair curls away from your face. It's important to know that the wand is a cone shape and should be held so that the larger width is at the top of the curled section. The smallest part of the wand should be at the ends of your hair.


3. Again, you should curl your hair away from your face, meaning your hair should go over and then under the curling wand as it wraps around. Here I've finished the first section! (I still have the other side and the top section of my hair to curl...)


4. Now you can curl the other side. You will still be curling your hair away from your face, but since its on the side of your face, curl the "opposite" way. See pics below!


5. Here's the fun part, hair spray! Flip, spary, flip, scrunch, comb!


I was having too much fun! (This tutorial = many #selfies...)

What I've learned:
- When you start curing the top sections, start curling a few inches down (not right at the top of your head). Otherwise you will end up with more of a "poodle" curl instead of looser, face-framing waves.
- If your curls aren't staying, try smaller sections each time you curl. With less hair, the heat will penetrate more of your hair and it will keep the hair curly longer.
- Be careful not to burn yourself!

My good friend actually showed me how to curl my hair so I hope this helps all of you who had trouble before! My hair is very stubborn but it seems to like Curling Wands! You can try and experiment with your Curling Wand by making tighter and looser curls, for an even more natural look!
I love changing up my hairstyle and I'm sure you guys do too!
Thanks for stopping by :)