Showing posts with label Sharpie. Show all posts

Wednesday, September 12, 2012

"It's A Boy" Card

Hey everybody! Recently a family friend had a baby boy and I decided to make her an "It's a Boy" Card, instead of buying one. You can change up this tutorial for any occasion by changing up the colors and patterns and get super creative with whatever ideas come to mind! I used some stuff I had in the house already. I hope you like this post and get creative with it!


Materials:
- Paper (I used two different patterned sheets and one plain one.)
- Yarn or ribbon
- Scissors
- Double sided tape or glue
- Sharpie
- Pen

I really want to emphasize using materials you already have! Notice the yarn I use is the same as the yarn in my Crochet Flowers and Knitted Headband posts!


Steps:

1. Cut out the initial shape of your card. I cut out two sheets (two different polka dots), where one fit inside the other. One side will be the outside of the card, and the other would be the inside, so pick your colors!


2. Next, double tape those sheets together. I like having a little bit of the inside pattern showing so I trimmed the front side of the card about a half an inch! I also cut out a little strip of the inside pattern and double taped it to the cover.

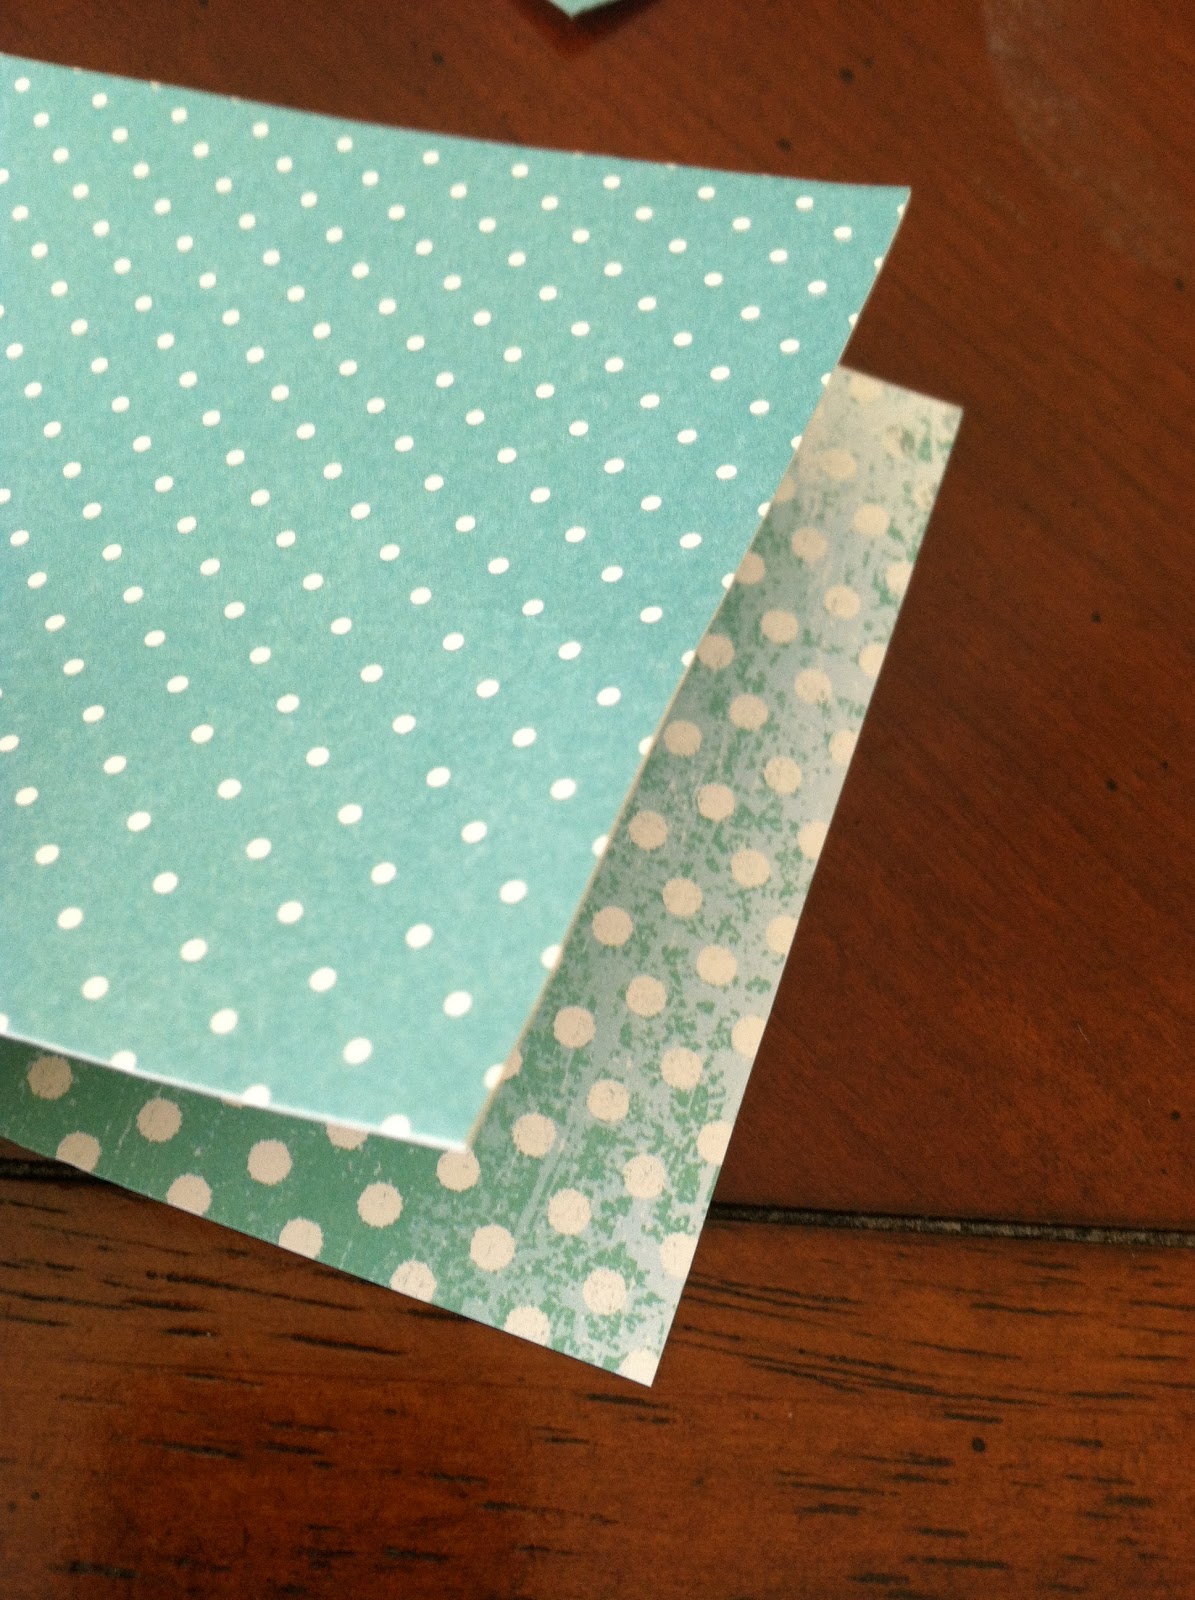


3. I then tied a small bow, made of yarn over the piece that I had just added to the front of the card. Then I added a drop of glue to keep the bow in place!


4. Since the yarn can be seen on the other side (it should be on the inside of the card), I added a little "tag" with a cute, "baby appropriate" picture. Some other ideas I thought of were a rattle, duck, or pacifier. I also double sided taped a blank piece of paper (cut to fit the shape of the card) for the area where I wanted to write something. This is totally optional! I just felt like there was too much polka dots!


I added "It's a Boy!" to the cover, and here's how it turned out!


What I've learned:

- When you're writing out the cover or trying to draw a picture for your "tag" make sure you practice a little on scrap paper or do it in pencil first!
- Try and plan out your steps but sometime you have to improvise! (ex. too much polka dot... cover it with plain paper!)


I hope you guys liked this post, and try it the next time make a card! Most of these ideas could be used for any card. Don't forget to make an envelope for it too (check out a previous post for ideas! DIY Envelope)! Let me know how your cards turn out!

Keep it crafty,


Alison ;)


Saturday, August 11, 2012

DIY Cork Coasters

Hello everyone! It was my big's birthday yesterday (Happy Birthday Kevin! and shout out to AKPsi!) and I decided to make him Cork Coasters as a birthday present! These could also be used as wall art/cork board squares, so its all up to you! I'm trying to post different different things and maybe have projects that more guys might want to try, so here goes!


Materials:
- X-acto knife (I finally got one!)
- Roll of cork
- Sharpie Paint oil based marker in Black
- Cardboard/foam/cutting surface
- Ruler or measuring tape
- Pencil
- Paper
- Thin piece of cardboard
- Superglue


Steps:

1. Open up your roll of cork and lay it out as flat as you can. I pre-cut a 4x4 inch square on a piece of paper to trace onto the cork with a pencil. You can also just use a ruler and make marks directly on the cork. Trace/draw twelve of these squares. My cork is pretty thin so I decided to double it! With these twelve pieces you can make a coaster set of 6.


2. Once you have your cork squares ready, start cutting them out with an X-acto knife. Make sure you do all of the cutting over some kind of cutting mat, I used cardboard!


3. Grab your Sharpie Oil Paint marker and draw on any designs you want! They sell a bunch of different colors but I chose to keep mine simple with black. I free handed mine with pencil before going over it with the marker, but you could always make yourself a stencil or try something else! Kevin works with computers so I used a techie theme for my coasters! :-)


4. Notice that my coasters are still kind of rolled and not completely flat. I decided to sandwich a thin piece of cardboard between two pieces of cork. With the help of superglue, I mounted the curvy cork to  cardboard. Make sure you follow your glue instructions, and try not to glue your fingers together!


5. I left mine under a pile of books overnight to make sure they dried nice and flat.

Here's how my coasters turned out!


What I've learned:

- Make sure you don't buy crumbly cork. Someone at the store recommended the rolled cork to me! (always ask for help if you can!)
- Roll the cork the opposite way to help it lay flat.
- Wear gloves when using superglue! (My superglue kind of blew up in my hand...)
- Go back and check to see if there are any large gaps between your cork. Just a bit more glue in between!


This project was fun, especially since I've never really used an x-acto knife, so that was a learning experience in itself! I hope Kevin really likes his gift... He said he did and wants to use them on the as wall art instead of coasters, which is also a great way to use this project. Anyways, I hope you guys try it out! I think these make great gifts and I'm considering making a set for myself too!


What do you think?


Alison :)