Showing posts with label Yarn. Show all posts

Wednesday, September 12, 2012

"It's A Boy" Card

Hey everybody! Recently a family friend had a baby boy and I decided to make her an "It's a Boy" Card, instead of buying one. You can change up this tutorial for any occasion by changing up the colors and patterns and get super creative with whatever ideas come to mind! I used some stuff I had in the house already. I hope you like this post and get creative with it!


Materials:
- Paper (I used two different patterned sheets and one plain one.)
- Yarn or ribbon
- Scissors
- Double sided tape or glue
- Sharpie
- Pen

I really want to emphasize using materials you already have! Notice the yarn I use is the same as the yarn in my Crochet Flowers and Knitted Headband posts!


Steps:

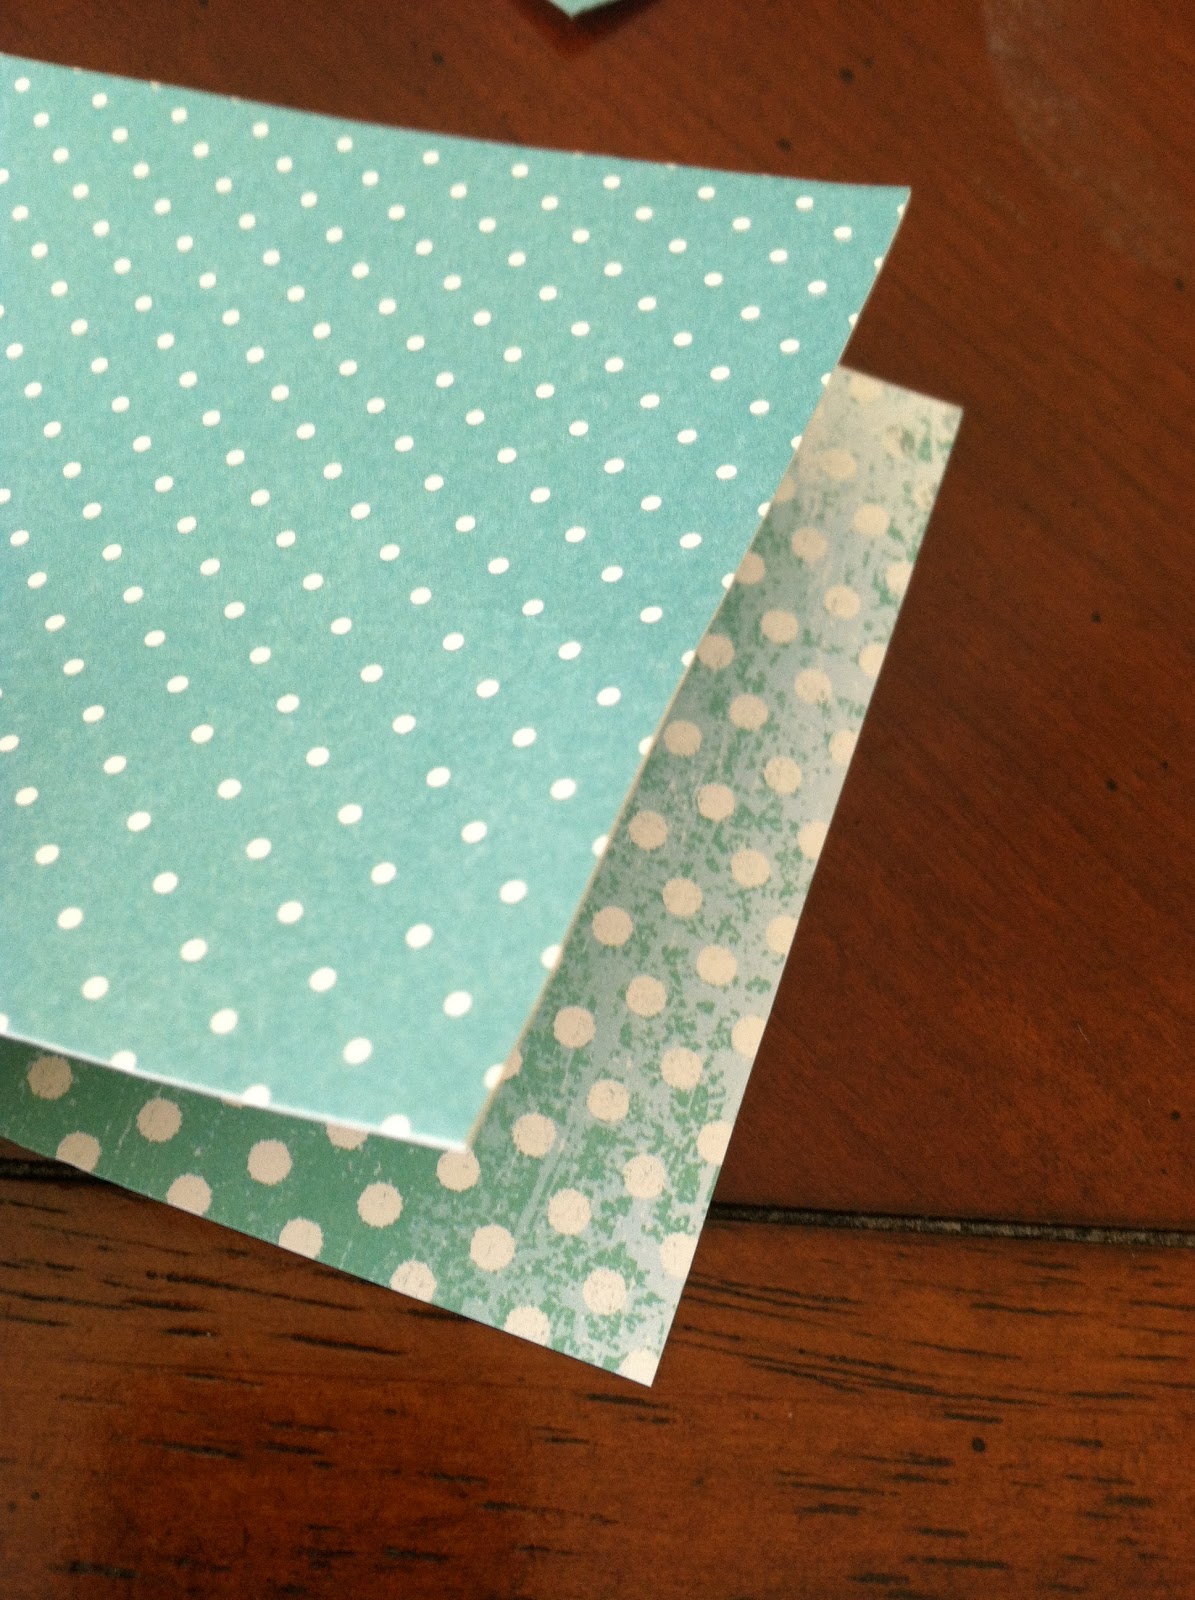
1. Cut out the initial shape of your card. I cut out two sheets (two different polka dots), where one fit inside the other. One side will be the outside of the card, and the other would be the inside, so pick your colors!


2. Next, double tape those sheets together. I like having a little bit of the inside pattern showing so I trimmed the front side of the card about a half an inch! I also cut out a little strip of the inside pattern and double taped it to the cover.



3. I then tied a small bow, made of yarn over the piece that I had just added to the front of the card. Then I added a drop of glue to keep the bow in place!


4. Since the yarn can be seen on the other side (it should be on the inside of the card), I added a little "tag" with a cute, "baby appropriate" picture. Some other ideas I thought of were a rattle, duck, or pacifier. I also double sided taped a blank piece of paper (cut to fit the shape of the card) for the area where I wanted to write something. This is totally optional! I just felt like there was too much polka dots!


I added "It's a Boy!" to the cover, and here's how it turned out!


What I've learned:

- When you're writing out the cover or trying to draw a picture for your "tag" make sure you practice a little on scrap paper or do it in pencil first!
- Try and plan out your steps but sometime you have to improvise! (ex. too much polka dot... cover it with plain paper!)


I hope you guys liked this post, and try it the next time make a card! Most of these ideas could be used for any card. Don't forget to make an envelope for it too (check out a previous post for ideas! DIY Envelope)! Let me know how your cards turn out!

Keep it crafty,


Alison ;)


Friday, August 31, 2012

Crochet Flowers

Hey guys! A few days ago I posted a Knitted Headband tutorial, and I've been thinking that it looks pretty plain. While I don't plan on bedazzling it or anything, I'm going to add a few flowers to make it a little more...pretty! Here's my attempt at crocheting a very simple flower! If you're knew to crocheting like me, hopefully this will help you. Keep reading to see how it turned out!

Materials:
- Crochet hook (I used a 6.5mm!)
- Yarn
- Scissors


Steps:

1. First, tie your slip knot directly onto your crochet hook. (Check out my Knit Cowl Neck Scarf tutorial for help!)


2. One of the beginners crochet stitches to learn is called the chain stitch, which I will be going through today! Start by taking the working end of your yarn and twirl it over your hook.


3. Pull your hook (with the working yarn tucked in it) under the original loop. This will create another loop/stitch! Keep on going based on the size of the flower you want. This will become the center of your flower! I had eight stitches for this part of my flower! :)


4. When you're ready to attach one end of your chain to the other, basically you do the same thing you've been doing but with an added step! Find a place where you want the two sides to attach and grab one strand of that chain so that you have two loops on your hook. Now do what you've been doing except pull your working yarn through both of the loops! Congrats! You've just made a small circle, and the middle of your flower.


5. With this concept, keep going by making chains and linking them to the center circle. You can make five or six petaled flowers based on the spacing of each link-attachment, and how many stitches your petals have. When you're done, tie the extra strings together on the back and trim them.


Congratulations! You just learned how to make a basic crochet flower!


What I've learned:

- To keep your petals the same size, count the number of stitches you make.
- Try to keep your crochet hook facing you as you work on your flower.
- If you want your petals to have a space in the middle, just all more stitches to each petal link!


I recognize that most crochet flowers are a lot more complicated than the one I'm showing you... but hey! I like that they're flat enough to add to my Knitted Headband. I ended up layering three flowers on the side of my headband and I love it! These are so simple to make and if you've never tried crocheting and want to, I highly recommend this!

Hope you liked this post,


Alison :)


Friday, August 24, 2012

Knitted Headband

Hey there! With fall and winter coming approaching faster than I would like, I thought I might as well get ready for it and make myself a warm, fuzzy headband! If you have already seen my Knit Cowl Neck Scarf post then you'll have a great jump start since I'll be using a lot of the same methods! I hope you try this!

Materials:
- Knitting Needles
- Yarn
- Shears
- Crochet hook

If you're unsure about some of my steps, check out Knit Cowl Neck Scarf post for a better explanation and more pictures! I didn't want to have too much repeated for this post.


Steps:

1. Tie a slip knot onto your knitting needle.              <-----


2. Cast on your yarn onto your needle. This will determine how thick your headband will be. I made ten stitches for mine.                      ----->


3. I decided to practice my knit stitch again (plus it's the only stitching method I know at this point)! I'm not even sure how many rows I knitted but I used the best measuring tool.... my head! Every once in awhile  wrap your "work in progress" headband around your head to see how much more you need to knit. Keep in mind your headband will be pretty stretchy and you don't want it to be too loose.


4. After getting my headband to the right length, I used the yarn (still attached to the ball of yarn) to weave both sides of my headband together. To do this, the crochet hook was the perfect tool! If you don't have a crochet hook, it'll just be more tedious and tricky but you can try and use your knitting needle to poke the yarn through. Just pull the yarn back and forth between both sides to lace your headband together.


And......... You're done! Here's how mine turned out!


What I've learned:

- Try on your headband before lacing up the ends together! I ended up having to undo a few rows because it was too loose.
- Knitting gets easier the more you do it!


I am so glad I made my headband wide enough so that it can cover my ears if it gets cold or windy out! I hope you guys try this out and make your own fuzzy, winter headband. It looks a little plain so stay tuned for a tutorial on Crochet Flowers to add to your headband, and make it even better!

Hope you liked this post!


Alison :)


Monday, August 20, 2012

Knit Cowl Neck Scarf

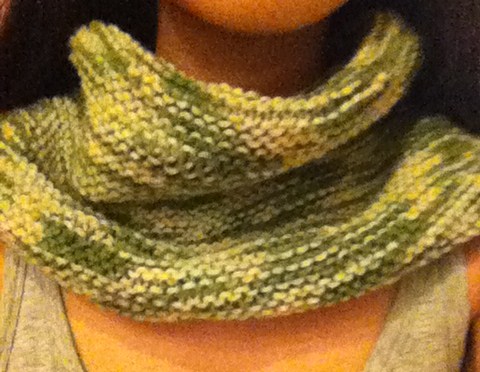
Hi guys! I recently decided to try and learn how to knit. At the time, I didn't really know what I was making but I just kept going and going... I ended up with a knitted, yarn mat of some sort. Long story short, I found a way to turn it into a scarf! If you want to see how it turned out, keep on reading! :)

Materials:
- Knitting needles
- Yarn
- Buttons
- Threader


I chose a multi-colored yarn and I had a friend ask how many different yarns I had to use! I guess the different colors not only hide mistakes a little better, but also make your scarf look more impressive!  :)


Steps:

1. First make a slip knot onto one of your knitting needles. If you don't know what a slip knot is, I hope these pictures help! (I forgot to take pictures when I first tried this so took some with different yarn.)


2. Now to Cast on! Wrap the loose end around your thumb and the strand attached to the ball of yarn around your index finger. Grab the thread with the other three fingers and pull the needle down and over your hand to make your "sling shot". Take your needle and guide it under yarn section "1" (*see picture below*), over "3" over and then under "2" and back through the loop in between "1" and "3". Keep casting on your yarn based on how wide you want your scarf to be!


3. Now I'm going to show you a basic stitch that I learned called the knit stitch. Take your other knitting needle (on the right side of each picture) and tuck it under the first loop so that your needles are crossed. Next take the yarn attached to your ball of yarn and loop it over the needle in your right hand, and pull! Take your needle and pull up and under and pull the cast on loop off! Congratulations, you made your first stitch! Keep doing this pattern over and over again until you finish one row. Then switch the needles and keep going until you finish you're scarf! (this will seem weird but keep on going!) I hope these pictures help if my description wasn't too great.


4. When I finished knitting my rectangular mat-thing (aka scarf!!) I cut the yarn free from the ball of yarn and threaded it through the loops from where the needle was. I then tied the end so it wouldn't come undone. My scarf ended up being too wide so I folded one side over and used some extra yarn to make little knots that would keep the "mat" folded over. For this, I used a threader to help me loop the yarn from one side to the other. It was super helpful!


5. I decided that I didn't want the buttons to show, so I chose to sew 2 clear buttons on the inside of my scarf. The buttons can be looped through any of the stitches in the scarf! I used the threader again to get the yarn through the button holes, otherwise it's practically impossible!


Here's what it looks like when you're done!


I'm probably going to wear mine in three ways! What do you think?


What I've learned:

- Fix any missed loops for skipped stitches as soon as you see them! They can jeopardize you're entire scarf! it would be awful to have the whole thing unravel from the middle!
- Be creative. I didn't know what I was making when I started knitting but I found a way to love my "scarf"!
- Learning to knit takes patience, but hey! If I can do it, you can too! ;)


Learning to knit was a lot harder than I thought it would be (props to grandmas around the world!). Also describing how to knit in this blog post wasn't a walk in the park either, so if you don't really get it email me or comment so I can help! I really hope this post reaches at least one person, and inspires you to knit! This was my first time knitting so if you had trouble, believe me I was so lost at first! I am so glad I was able to make this "thing" and turn it into a scarf that I now find unique, versatile and useful!

Anyways, for those of you who make this scarf or learn to knit... GREAT JOB! I hope you like your new scarf, it'll be perfect for winter weather!

Love to hear from you,


Alison ^.^