 Hi everyone! Today's DIY project is one that I've been itching to do for awhile now... a removable Peter Pan collar! I decided I wanted to make a super sparkly piece of statement jewelry for New Years and here's what I came up with. This project is a little more time consuming but it is totally worth it! Keep reading to see what I did and try it out for yourself! :)
Materials:
- Glue
- Magazine/scrap paper
- Small beads
- Ribbon
- Pen
- Felt
- Scissors I chose colors that I thought could be versatile,
- Corkscrew but had a some glitz to it!
Steps:
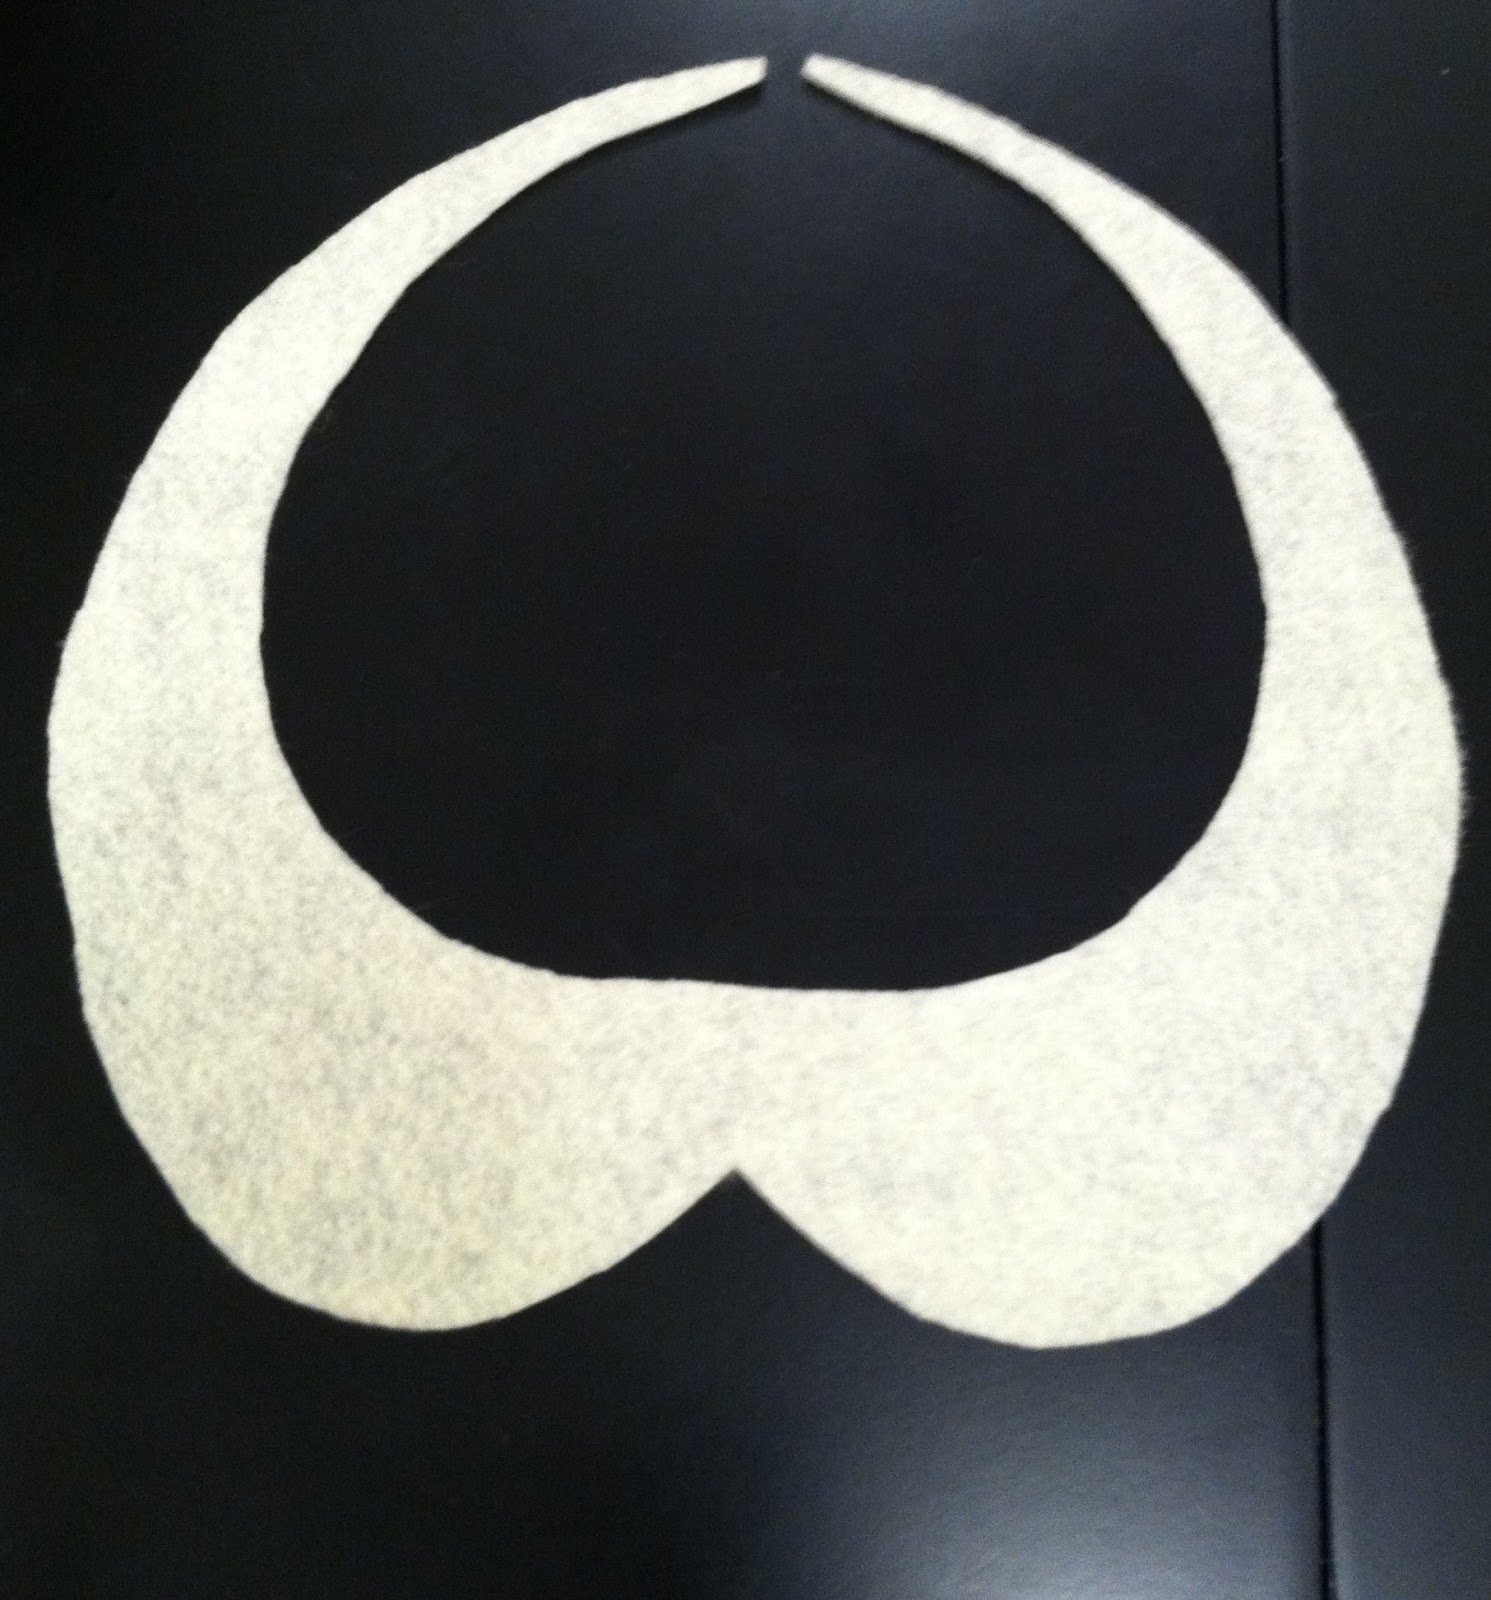
1. Draw out a template on a piece of scrap paper. I folded mine in half, drew out one side of the collar and cut it out so that both sides would be the same. Using a pen, trace the paper cut-out onto your felt! Cut that out once you're done.


2. Now's the tricky part, take your glue and slowly glue on your beads. I did small sections at a time, spreading the glue and sprinkling the beads over it and filling in the spaces afterwards. During this step, make sure your beads are laying flat!


3. This part was actually a little difficult for me too. You have to decide how you want to fasten the collar around your neck. I went with ribbon! Using a corkscrew (resourceful maybe?), I poked 2 small holes to the trimmed ends of my collar. With one ribbon, I looped it through the 2 holes and tied it in a bow. This way, it'll still be adjustable!


Here's my finished Peter Pan Collar!

What I've learned:
- Make sure you know the exact shape of your collar before cutting your felt. I even tried on the scrap paper version to make sure it was what I wanted.
- The ribbon as a fastener works well for me because I want to have the flexibility to change it to fit different shirts. You could also use one ribbon on either side to tie together, or a button if you want the collar to be fixed!
- Choose beads wisely! Make sure they're small enough to be glued on without falling off. Flattening all the beads on your collar will help make sure they won't get caught on anything.
- To get my ribbon through the "corkscrew holes" I used a twist tie as a threading tool!

I hope you liked this DIY project and make your own Peter Pan Collar! This project was a little more tedious (especially when I was getting beads stuck to my fingers from all the glue) than some of my other DIY's but the end result turned out a lot better than I had expected. What do you think?
I like my new Peter Pan Collar so much that I want to make another one! I should also buy more high collared/crew neck shirts... ^.^
Alison
No comments:
Post a Comment