 Materials:
- Paper (I used two different patterned sheets and one plain one.)
- Yarn or ribbon
- Scissors
- Double sided tape or glue
- Sharpie
- Pen
I really want to emphasize using materials you already have! Notice the yarn I use is the same as the yarn in my Crochet Flowers and Knitted Headband posts!

Steps:
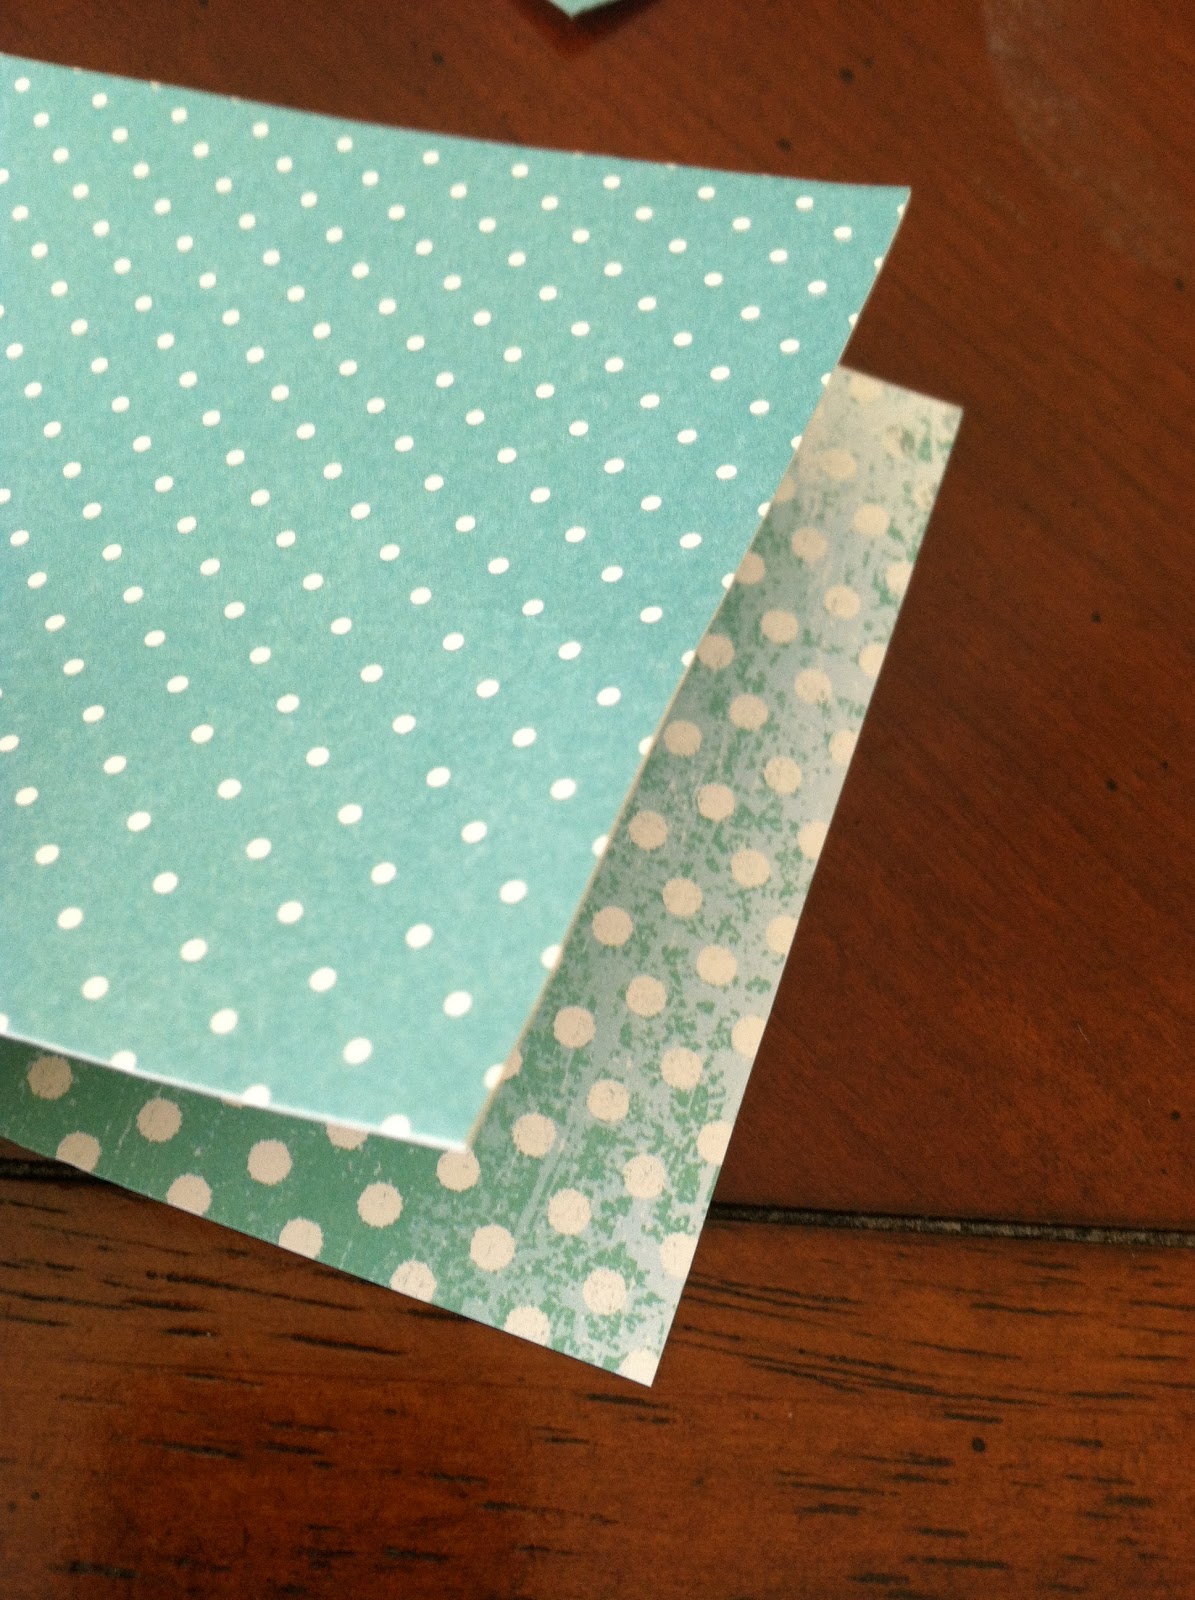
1. Cut out the initial shape of your card. I cut out two sheets (two different polka dots), where one fit inside the other. One side will be the outside of the card, and the other would be the inside, so pick your colors!
2. Next, double tape those sheets together. I like having a little bit of the inside pattern showing so I trimmed the front side of the card about a half an inch! I also cut out a little strip of the inside pattern and double taped it to the cover.

3. I then tied a small bow, made of yarn over the piece that I had just added to the front of the card. Then I added a drop of glue to keep the bow in place!


4. Since the yarn can be seen on the other side (it should be on the inside of the card), I added a little "tag" with a cute, "baby appropriate" picture. Some other ideas I thought of were a rattle, duck, or pacifier. I also double sided taped a blank piece of paper (cut to fit the shape of the card) for the area where I wanted to write something. This is totally optional! I just felt like there was too much polka dots!


I added "It's a Boy!" to the cover, and here's how it turned out!

What I've learned:
- When you're writing out the cover or trying to draw a picture for your "tag" make sure you practice a little on scrap paper or do it in pencil first!
- Try and plan out your steps but sometime you have to improvise! (ex. too much polka dot... cover it with plain paper!)

I hope you guys liked this post, and try it the next time make a card! Most of these ideas could be used for any card. Don't forget to make an envelope for it too (check out a previous post for ideas! DIY Envelope)! Let me know how your cards turn out!
Keep it crafty,
Alison ;)
No comments:
Post a Comment