
I'm going to start by showing you the inside pop-up part of the card as Part 1, and do the outside "turtle" DIY as Part 2 (in case you only want to try one part).
<---- This is what the final card looks like, at least the inside!

Part 1:
Materials:
- 2 pieces of paper (I used green as the card and white for the pop-up)
- Scissors (if you have an xacto knife... I'm jealous)
- Pencil
- Eraser
- Ruler, measuring tool
- Double sided tape or glue

Steps:
1. First cut out the shape of your card. Doing this first will help you decide on how big you want your letters to be for the pop-up part. This will also effect the size of the envelope you can make in my next blog post!

2. After sizing up the card and how big I wanted my letters for the pop-up part, I started tracing and outlining "MISS" on a piece of white printer paper. I used a ruler and lined paper underneath as guides. The "M" and "I" were easy, for the "S" I decided to make a stencil (cut out one from another sheet of paper). It was a lot easier to just trace, and I had two identical ones after! Another important part about this pop up is that you have to make sure the letters are connected, otherwise it wont work!

<----- I hope you can see my dotted lines!

3. Now cut the outline of your "MISS". When you're done with that, cut out the inside pieces in between letters that you don't need. Be careful not to cut or rip anything, especially the connecting points between letters! If this happens, you can always try again or use a little tape.

4. Good job! You can erase any of those lines you have left over.

5. Now that you have your cut our ready, fold it up like an accordion. Keep in mind that the first and last fold will be taped to the inside of your card!

6. Now tape your first an last fold onto opposite sides of the card. When you close your card, your "MISS" should be folded up but when you open it... it should pop-up!

Here's what the inside of my card looks like before I changed up the outside. Keep reading if you want to make your card into a turtle!
Turtle, turtle, turtle....
Part 2:
- Already made card (see Part 1)
- Paper (brown/tan color for turtle shell)
- Scissors
- Double sided tape or glue

Steps:
1. From your already made card, cut out a turtle shape!
 <----- As you can see, some of my marker bled through, luckily we still have to put the shell on!
2. Cut out the shape of your shell. I decided to keep mine a little larger and more square to keep the "look" of a card (plus I had to cover that spot!).
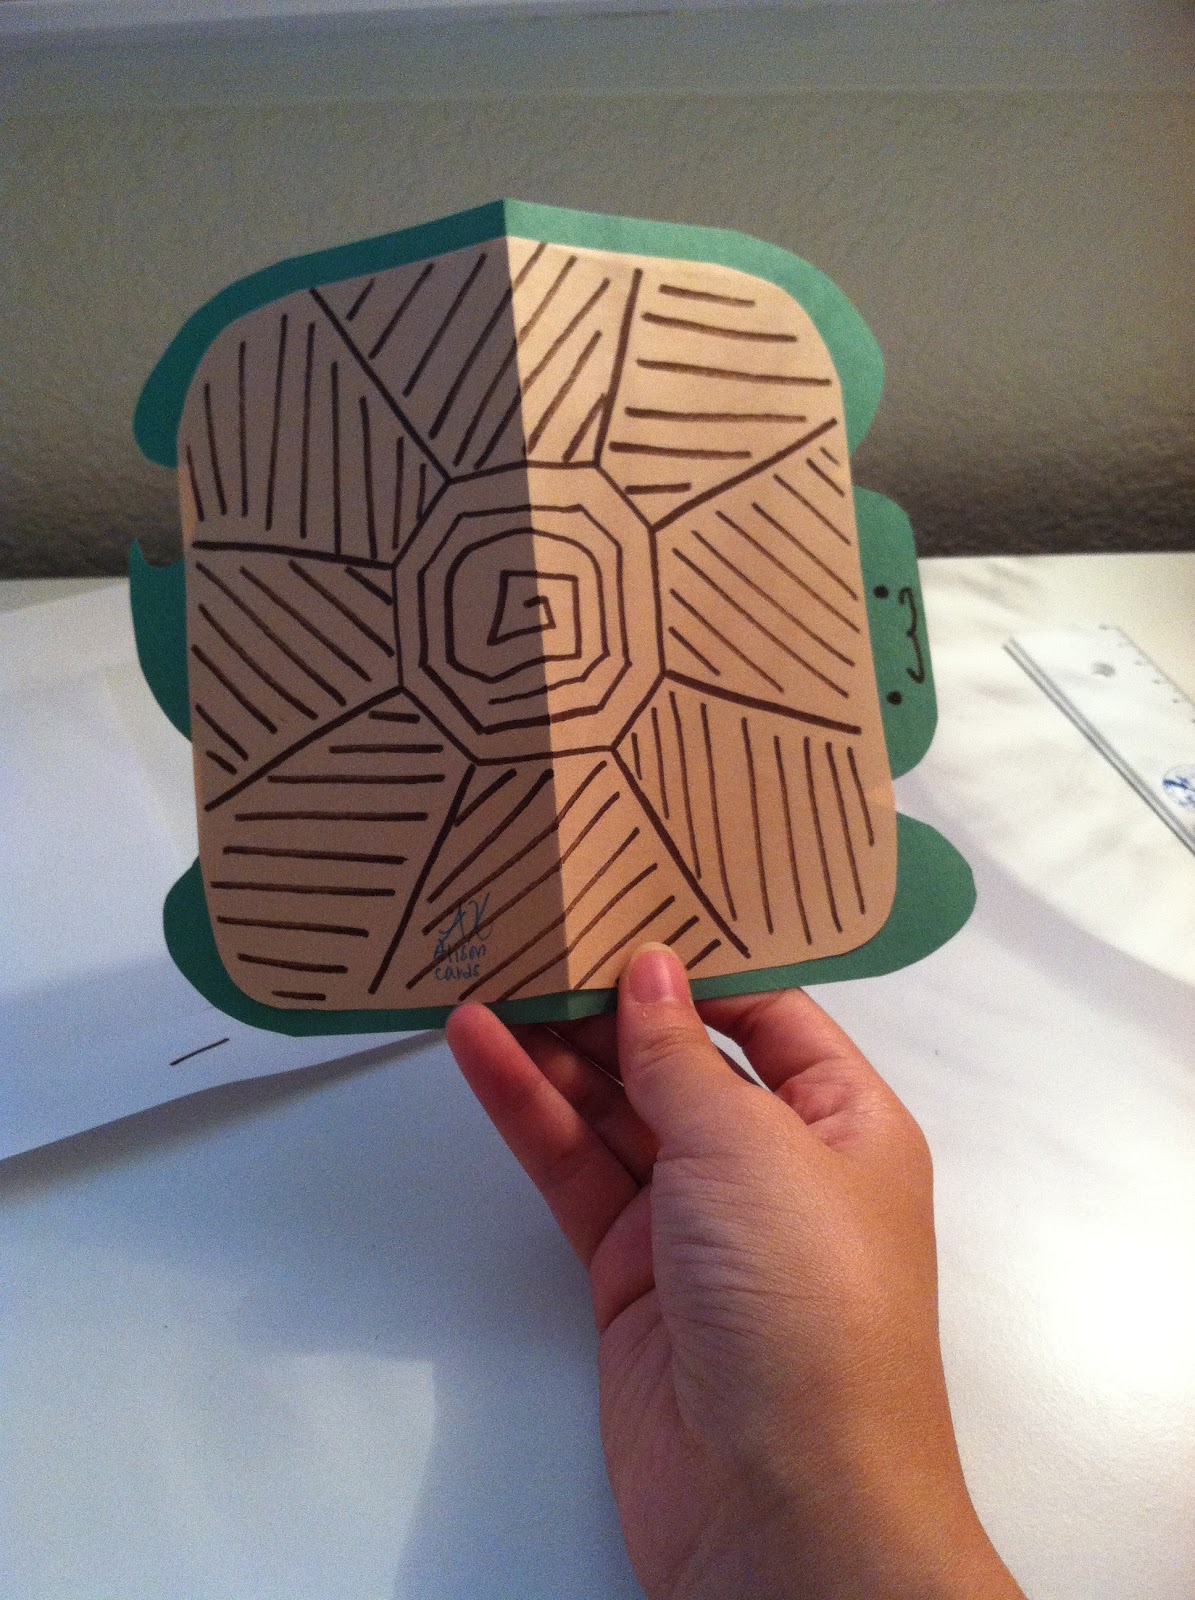
3. Now, design your turtle shell! I went with an octagon shape in the middle with shell plates branching off. Looked kind of plain with just the outline so I went a little crazy with a brown marker!


4. Tape/glue your two parts together. If your turtle shell is smaller, make sure you center it before taping! Also, don't forget to give your turtle a face!

What I've learned:
- Get an Xacto knife for Part 1.
- You could cut out your turtle shape at the beginning to properly place the pop-up.
- Make sure your pop-up piece has strong connections between each letter.
This was a fun little project! I'm very new to making regular cards, much less pop-up cards, but I like the fact that you can personalize it! I think next time I'm going to stick with one exciting factor for my card (pop-up or cutesy turtle!). The whole project took longer than I expected but I guess slow and steady wins the race? ^.^
Hope you liked this DIY!!
Let me know what you think?

Stay tuned for my attempt at making an envelope!
Alison :)
awesome card and really creative. I hope your boyfriend liked it
ReplyDelete